Rudin Projector Guide
BEFORE THE MEETING
-
Borrow needed supplies from the front desk on the 2nd Floor. (Available: laptop, Mac Adapter (thunderbolt connector), presentation clicker.)
-
To Lower the projector screen, enter through the door opposite to the cafe and press the the far right switch on the wall located to your immediate left.
-
The switch will have a red tape for your convenience.
-
-
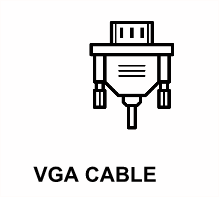
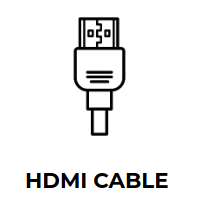
Plug in the HDMI or VGA cable into the wall port on the windowed wall (or the street facing wall) of the room to the left of the black soundboard.
-
HDMI or VGA cable will be gaff taped on the floor for your convenience.
-
-
Plug in the other end of the HDMI or VGA cable into the laptop (and Mac adapter if needed).
-
Turn on the projector using the panel above the wall port.
-
For VGA projection, push the COMP button on the blue panel.
- For HDMI projection, push the VIDEO button on the blue panel.
-
ADDITIONAL INFORMATION


-
In the event of technical difficulties regarding the projector in Rudin, please email wagner.pcsupport@nyu.edu. For more time sensitive requests please visit the IT department.
TROUBLESHOOTING
If the laptop will not project, change the display settings to "Duplicate these Displays."
- On Windows 7:
- Right click on any empty area on your desktop and click on Screen Resolution.
- Click on the Multiple displays drop-down list and select "Duplicate these displays."
- On Windows 10:
- Right click on any empty area on your desktop and click on Display Settings.
- Click on the Multiple displays drop-down list and select "Duplicate these displays."
- On MAC OS:
- Click on the Apple icon in the top left of the screen.
- Click on System Preferences.
- Click on Displays and then select Arrangement tab.
- Check the "Mirror Displays" checkbox in the bottom left of the window.